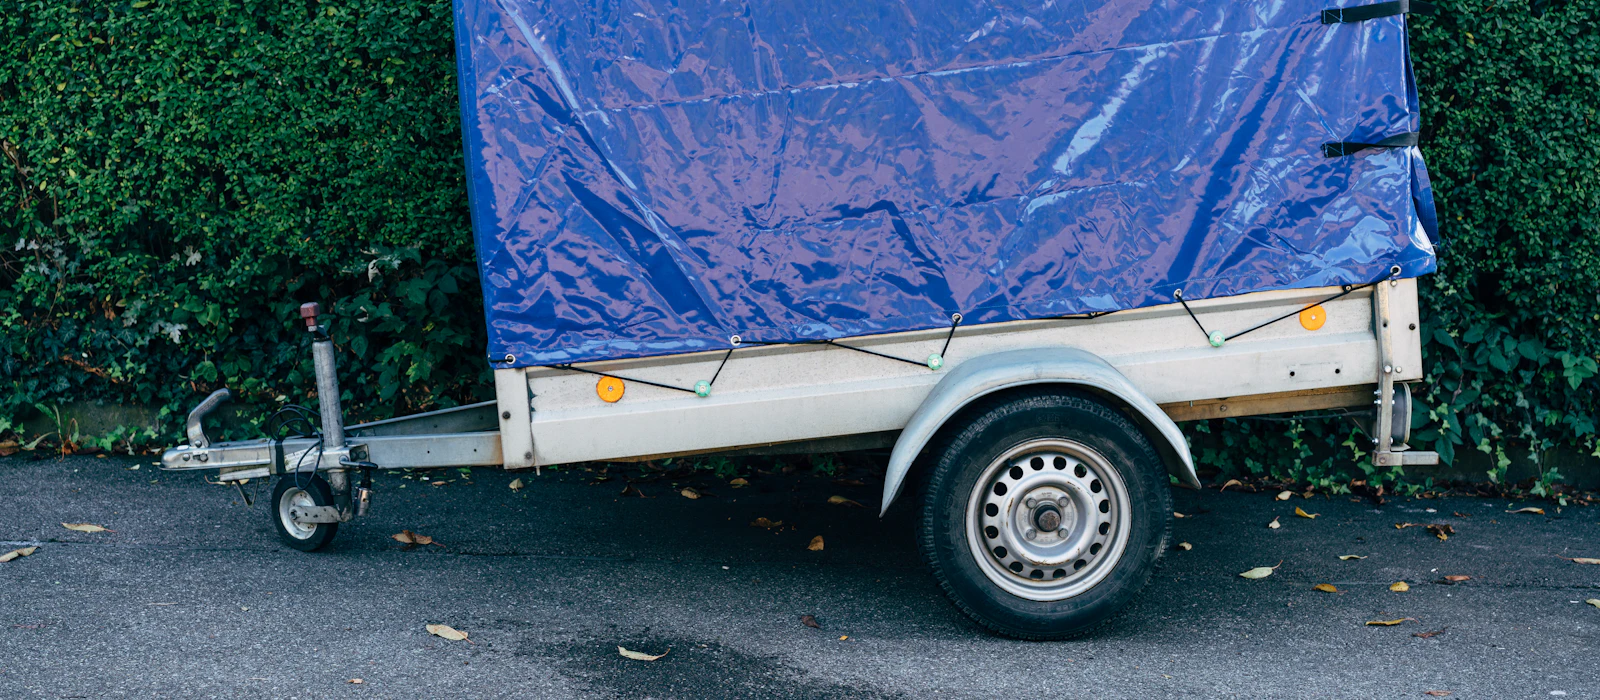
Trailer lights that flicker, a plug that’s been run over, or a new trailer that needs wiring: most trailer electrical jobs come back to the plug. This guide covers the three plugs you’ll see on Brisbane trailers, what each pin does, how to replace a plug yourself, and when it’s worth handing the job to an auto electrician.
How can we help?
Need it fixed?
Find a local Trailer plug wiring guide: 7-pin flat, 7-pin round and 12-pin auto electrician for anything from a flat battery to a full fit-out.
Find an auto electricianBuying parts?
Quality auto electrical parts from Ozautoelectrics, an established Australian supplier since 2010, dispatched through a nationwide network. For retail and trade buyers.
Shop partsDoing it yourself?
Free step-by-step guides written for Queensland conditions, with the parts you’ll need listed for each job.
Browse DIY guidesAuto electrician in Trailer plug wiring guide: 7-pin flat, 7-pin round and 12-pin?
Are you an auto electrical business? List your business on this site.
List your business on this siteThe short version
- Most Brisbane box trailers use a 7-pin flat plug. Caravans and trailers with electric brakes use a 7-pin large round or a 12-pin flat.
- On all three, pins 1 to 7 do the same jobs and use the same wire colours. The 12-pin adds five extra circuits.
- Most “trailer light” faults are a bad earth or corroded pins, not broken wiring.
- If the trailer has electric brakes or a battery to charge, get an auto electrician to check the setup.
Which plug have you got?
- 7-pin flat. The everyday plug on box trailers, tool trailers, camper trailers and many boat trailers. Small, cheap and easy to replace.
- 7-pin large round. Common on older caravans, horse floats and heavier trailers with electric brakes. Sturdier, and often metal.
- 12-pin flat. Fitted to most newer caravans and campers. It adds a battery charging feed, auxiliary power, a second earth and a rear fog light circuit.
- Other plugs. You may also see 5-pin flat plugs on older light trailers, and 13-pin round plugs on European cars. Adaptors join most combinations.
Trailer plug pin chart
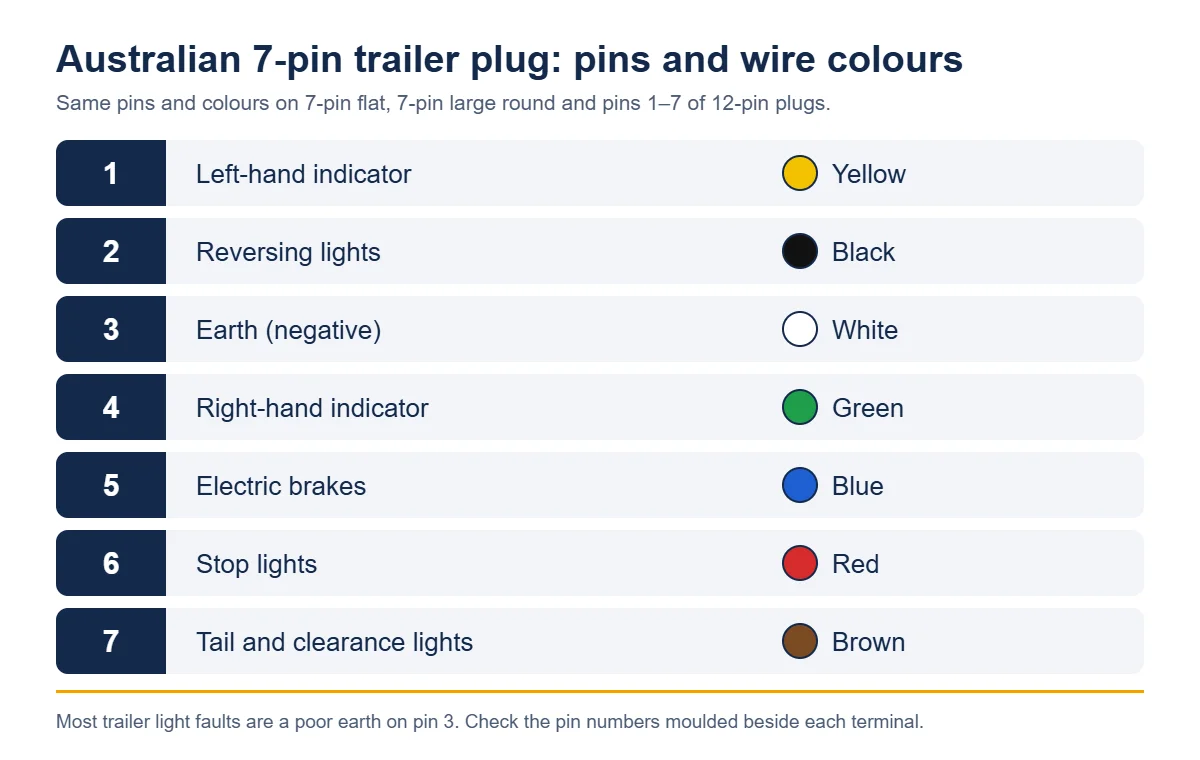
Pins 1 to 7 are the same on the 7-pin flat, 7-pin large round and 12-pin flat plugs. Pins 8 to 12 (shaded) are on the 12-pin only. The pin numbers are moulded into the plug and the socket, usually beside each terminal.
| Pin | Wire colour | What it does |
|---|---|---|
| 1 | Yellow | Left indicator |
| 2 | Black | Reversing lights |
| 3 | White | Earth (ground) |
| 4 | Green | Right indicator |
| 5 | Blue | Electric brakes |
| 6 | Red | Brake (stop) lights |
| 7 | Brown | Tail, clearance and side marker lights |
| 8 | Orange | Battery charging feed (12-pin only) |
| 9 | Pink | Auxiliary power (12-pin only) |
| 10 | White | Second earth (12-pin only) |
| 11 | Grey | Rear fog light (12-pin only) |
| 12 | Violet | Spare (12-pin only) |
Pin 5 is for electric brakes only. Don’t use it for anything else, even if your trailer has no brakes. If the trailer is later towed by a car with a brake controller, a wrongly used pin 5 can cause problems. Never put auxiliary power or a breakaway feed on pin 2 (reverse) either.
Parts you’ll need
Click any part to see it on Ozautoelectrics.com, our parts store. Everything ships Australia-wide.
Britax B4 7-pin flat trailer plug
The plug for most Brisbane box and camper trailers. Buy online
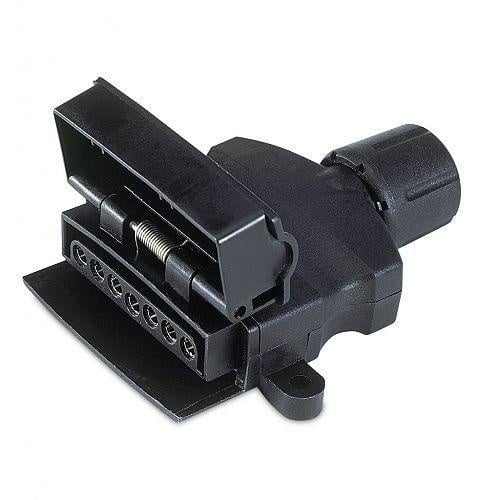
Hella 7-pole flat trailer socket (base)
The matching socket on the car or towbar. Buy online
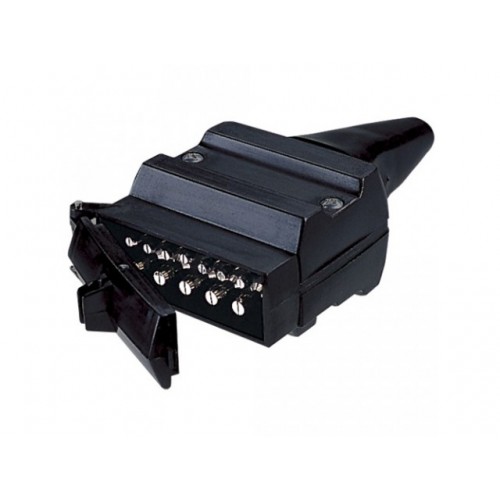
Britax B47 12-pin flat trailer plug
For caravans and campers that need a charge feed. Buy online
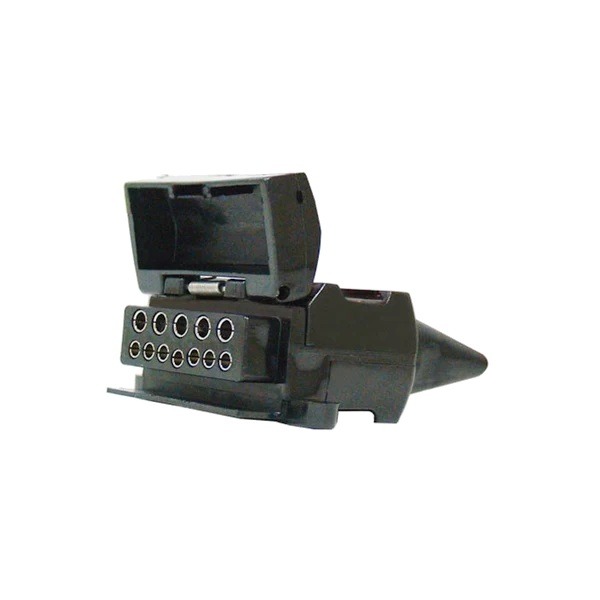
Britax B48 12-pin flat trailer socket
The 12-pin socket for the tow vehicle. Buy online
Ionnic heavy-duty 7-pin round metal socket
For large round plugs on floats and older vans. Buy online
Hella 7-core trailer cable, 2.5 mm
Colour-coded cable for re-wiring a whole trailer. Buy online
You’ll also want wire strippers, a small screwdriver, heat-shrink tubing, and a 12-volt test light or multimeter. If your car has a 13-pin European socket, a 13-pin to 7-pin trailer adaptor lets you tow an Australian trailer without re-wiring.
How to replace a trailer plug
- Note the old connections. Take a photo of the old plug’s wiring before you cut it off, in case your trailer uses non-standard colours.
- Cut back to clean wire. Cut the cable back past any corrosion until the copper is bright, not green or black.
- Strip the cable. Remove about 30 mm of outer sheath, then about 6 mm from each core. Twist the strands tight so none stick out.
- Thread the parts on first. Slide the plug cover and cable clamp onto the cable before you connect anything. It’s easy to forget.
- Connect each wire to its pin. Use the chart above. Tighten each screw firmly and check there are no stray strands touching the next terminal.
- Check the earth. The white wire must run to a clean, bare-metal earth point on the trailer chassis. A poor earth causes most trailer light faults.
- Fit the strain relief and close up. Tighten the cable clamp so the wires can’t be pulled off the pins, then close the cover.
- Test everything. With a helper, check tail lights, left and right indicators, brake lights and reverse lights. Test the brakes too, if fitted.
Common trailer light faults
- Lights flicker, or the wrong lights glow when you indicate. Almost always a bad earth. Clean the earth point on the trailer and check the white wire at both ends.
- Nothing works at all. Check the fuse for the towbar wiring in the car. Many modern cars use a towbar wiring module, and those modules have their own fuses and settings.
- Green or white powder in the plug. Water has got in. Clean the pins with contact cleaner and a small wire brush, apply dielectric grease, and fit a cap or cover.
- One light won’t work. Check the globe or LED first, then test for 12 volts at that light. If there’s power but no light, it’s the earth or the lamp itself.
- Electric brakes weak or not working. Check the brake controller’s settings, then pin 5 at the plug. Brake faults are best checked by an auto electrician.
Brisbane trailer tips
- Boat trailers at the bay. Salt water at the Manly, Wynnum and Cabbage Tree Creek ramps destroys trailer plugs and lights. Rinse the plug and lights with fresh water after every launch, and swap old globe lights for sealed, submersible LED lamps: no globes to blow, and nothing for salt water to get into. More in our boat trailer wiring guide.
- Storm season. Trailers left out in summer storms take on water. Store the plug in a cap or a dummy socket, and check the lights before every trip.
- Caravans heading out of town. If you want the 12-pin plug to charge a caravan battery while you drive, the standard wiring often isn’t heavy enough. An auto electrician can fit a DC-DC charger with the right cable. See our dual battery guide.
When to call an auto electrician
Replacing a 7-pin flat plug is a good DIY job. These ones are better left to a professional:
- Fitting or adjusting an electric brake controller.
- Wiring a towbar socket into a modern car with a towbar wiring module or CAN bus electrics.
- Charging circuits for caravan and camper batteries.
- Faults you can’t trace with a test light.
Official manufacturer guides. For brand-specific details, see Narva’s trailer plug wiring diagrams.
Need a hand?
- Find a local auto electrician in the Brisbane directory, or by area: Northside, Southside, Wynnum Manly, Moreton Bay, Logan.
- Doing it yourself? Search for batteries, terminals, battery maintainers and isolators:
Search auto electrical parts
Searches the full range at Auto Electrical Australia, opening in a new tab. Popular: dual battery · LED light bars · trailer plugs · fuses
Run an auto electrical business in Trailer plug wiring guide: 7-pin flat, 7-pin round and 12-pin?
- New to Ozautoelectrics? Apply for trade pricing on quality auto electrical parts.
- Already a trade customer? Log in and order parts at your trade price.
- Want more local customers? List your business on this site so drivers in Trailer plug wiring guide: 7-pin flat, 7-pin round and 12-pin can find you.
Not confident doing this yourself?
There’s no shame in handing it over. A local auto electrician can diagnose the fault properly and get it done safely, especially for anything involving brakes, airbags, hybrid systems or air-con gas.
Find a local auto electrician Or shop the parts and do it yourself